The inverter has a black screen? Here are three steps to fix it!
Recently, I have received many private messages from customers saying that the screen of the inverter in the power station suddenly “blackened” and it would not light up even after tapping and hitting the screen, which made them panic. Today, let’s talk about this frequently asked question: What is wrong with the inverter screen? And how to solve it? The article is full of useful information. It is recommended to save and forward it, which can save lives at critical moments!
1 :Why does the screen “go on strike”?
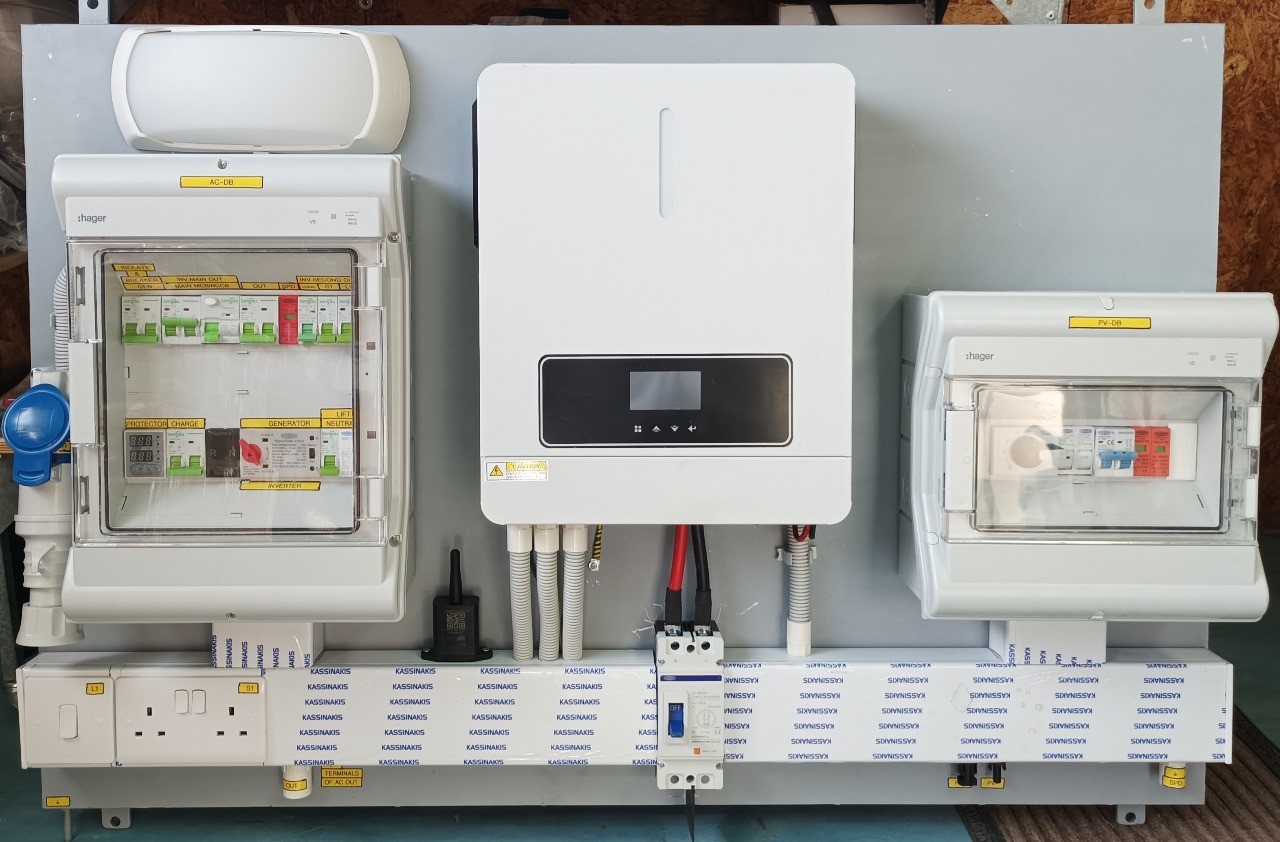
The screen of the inverter is like its “face”. Once the screen goes black, it means that it has not received even the most basic DC power.
Based on years of experience, 90% of the faults are caused by the DC input link.
In plain words, the “channel” from the solar panel to the inverter is blocked.
For example: if your water pipe does not work, it may be that the water pressure is not enough, the valve is not open, or the water pipe is broken.
The same is true for the black screen of the inverter. Let’s disassemble the specific reasons below.
2 :Who is the real culprit behind the black screen?
Insufficient voltage
The inverter is a difficult one to handle, and the working voltage must be between 100V and 500V.
If the voltage provided by the solar panel is lower than 100V, it will “go on strike”.
Common scenarios: rainy days, weak light in the early morning/evening, or the components are blocked by snow or bird droppings.
Key reminder: The total voltage of the component is the sum of the voltages of each panel. For example, if 5 panels are connected in series, each with 30V, the total voltage is 150V.
If the calculation is not enough, check for blocking or wiring problems!
The connector is loose
The most feared thing about photovoltaic systems is “poor contact”.
If a connector is not tightened, or the terminal is oxidized and rusted, the current may “run away halfway”, causing a sharp drop in voltage.
High-risk links: MC4 connectors between components, junction box terminals, and DC switch contacts.
Practical skills: Touch the connector to see if it is hot, which means the contact resistance is large; use your eyes to see if the terminal is burnt or corroded.
Positive and negative poles are connected in reverse
PV input terminals have clear “+” and “-” polarities. If they are connected in reverse, it is like installing the battery in reverse, and the inverter directly “rejects” the current.
Common pitfalls: Novices tend to confuse the polarity of the string during installation, or forget to restore the original line after maintenance.
Pit avoidance guide: Use a multimeter to measure the voltage. If it shows a negative value (such as -150V), it means that the polarity is connected in reverse!
Component short circuit
If a component is short-circuited internally or the cable is broken and grounded, the voltage of the entire string will return to zero.
Typical cases: the back panel of the component is cracked and water enters, the cable is bitten by rats, and the junction box is burned.
Quick judgment: disassemble the string, measure the voltage of each component separately, and find the “drag” one.
3: Three-step troubleshooting method: Teach you how to fix a black screen step by step
Step 1: Measure voltage and lock fault range Tool: Multimeter (adjust to DC voltage).
Operation: Disconnect the DC switch of the inverter (safety first!).
※ ※ ※ Connect the red test lead to the “+” of the PV input terminal, and the black test lead to the “-“. The reading should be above 100V.
There is voltage and it is normal → Check the internal circuit of the inverter or the power supply of the screen (provided that the manufacturer supports it! Choose BUYIT, we will serve you 24 hours a day:)).
The voltage is 0 or too low → go to the next step.
Step 2: Follow the clues and check the line problems. Check the DC switch: confirm whether the switch is closed and whether the contacts are oxidized.
Check the wiring terminals: tighten all MC4 connectors and combiner box terminals, and check for signs of ablation.
Check the polarity of the string: use a multimeter to measure the voltage of each string, and adjust it immediately if it is reversed.
Check the status of the components: disassemble the string and measure the voltage of each component separately (normal is about 30-40V).
If the voltage of a certain component is 0, replace the component.
Step 3: Test by splitting the circuits to eliminate interference. If there are multiple string inputs, disconnect each circuit one by one for testing: After disconnecting one circuit, the voltage of other circuits will recover → the fault is in this circuit!
If there is still no voltage after all circuits are disconnected → check whether the DC cable is damaged or the inverter is short-circuited.
4:Take precautions
Daily inspection: Check the tightness of the connectors once a month, and check the terminal waterproofness after rain.
Monitoring and early warning: Observe the string voltage through the operation and maintenance platform, and check immediately if it suddenly drops.
Spare parts strategy: Always have MC4 connectors and DC switches to avoid being blind at critical moments.
Must-read for novices: Take photos to record the wiring sequence during installation, and restore it after maintenance. If you check it according to the above steps, the voltage is normal but the screen is still black, it is likely that the internal circuit of the inverter is faulty (such as auxiliary power supply damage, motherboard failure).
Don’t disassemble the machine yourself! Contact the manufacturer’s after-sales service immediately and provide the following information: inverter model, time of fault occurrence, DC voltage measurement value, ambient temperature, whether there has been a lightning strike recently, and power grid fluctuations……
Thank you for following BUYIT. If you have more questions, please add contact information WHAT’S APP: 00 8613808405352


